
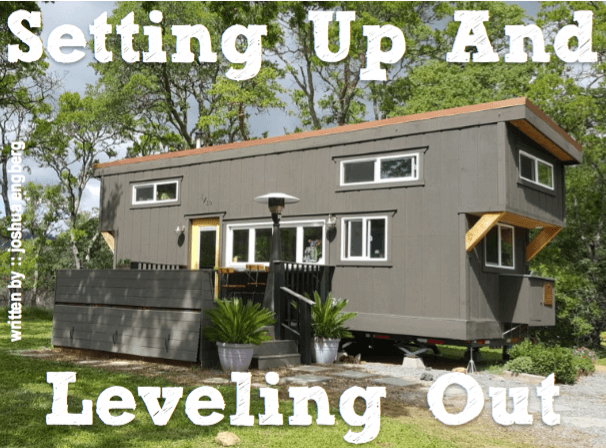
Whether you travel with your Tiny House or keep it parked for long periods of time there will always be a little bit of a setup process when you get to your new parking spot. Of course unpacking the inside is important but in this article we are are going to focus on setting up on the outside by leveling the tiny house using tools and equipment that we have found to be extremely useful in the process.
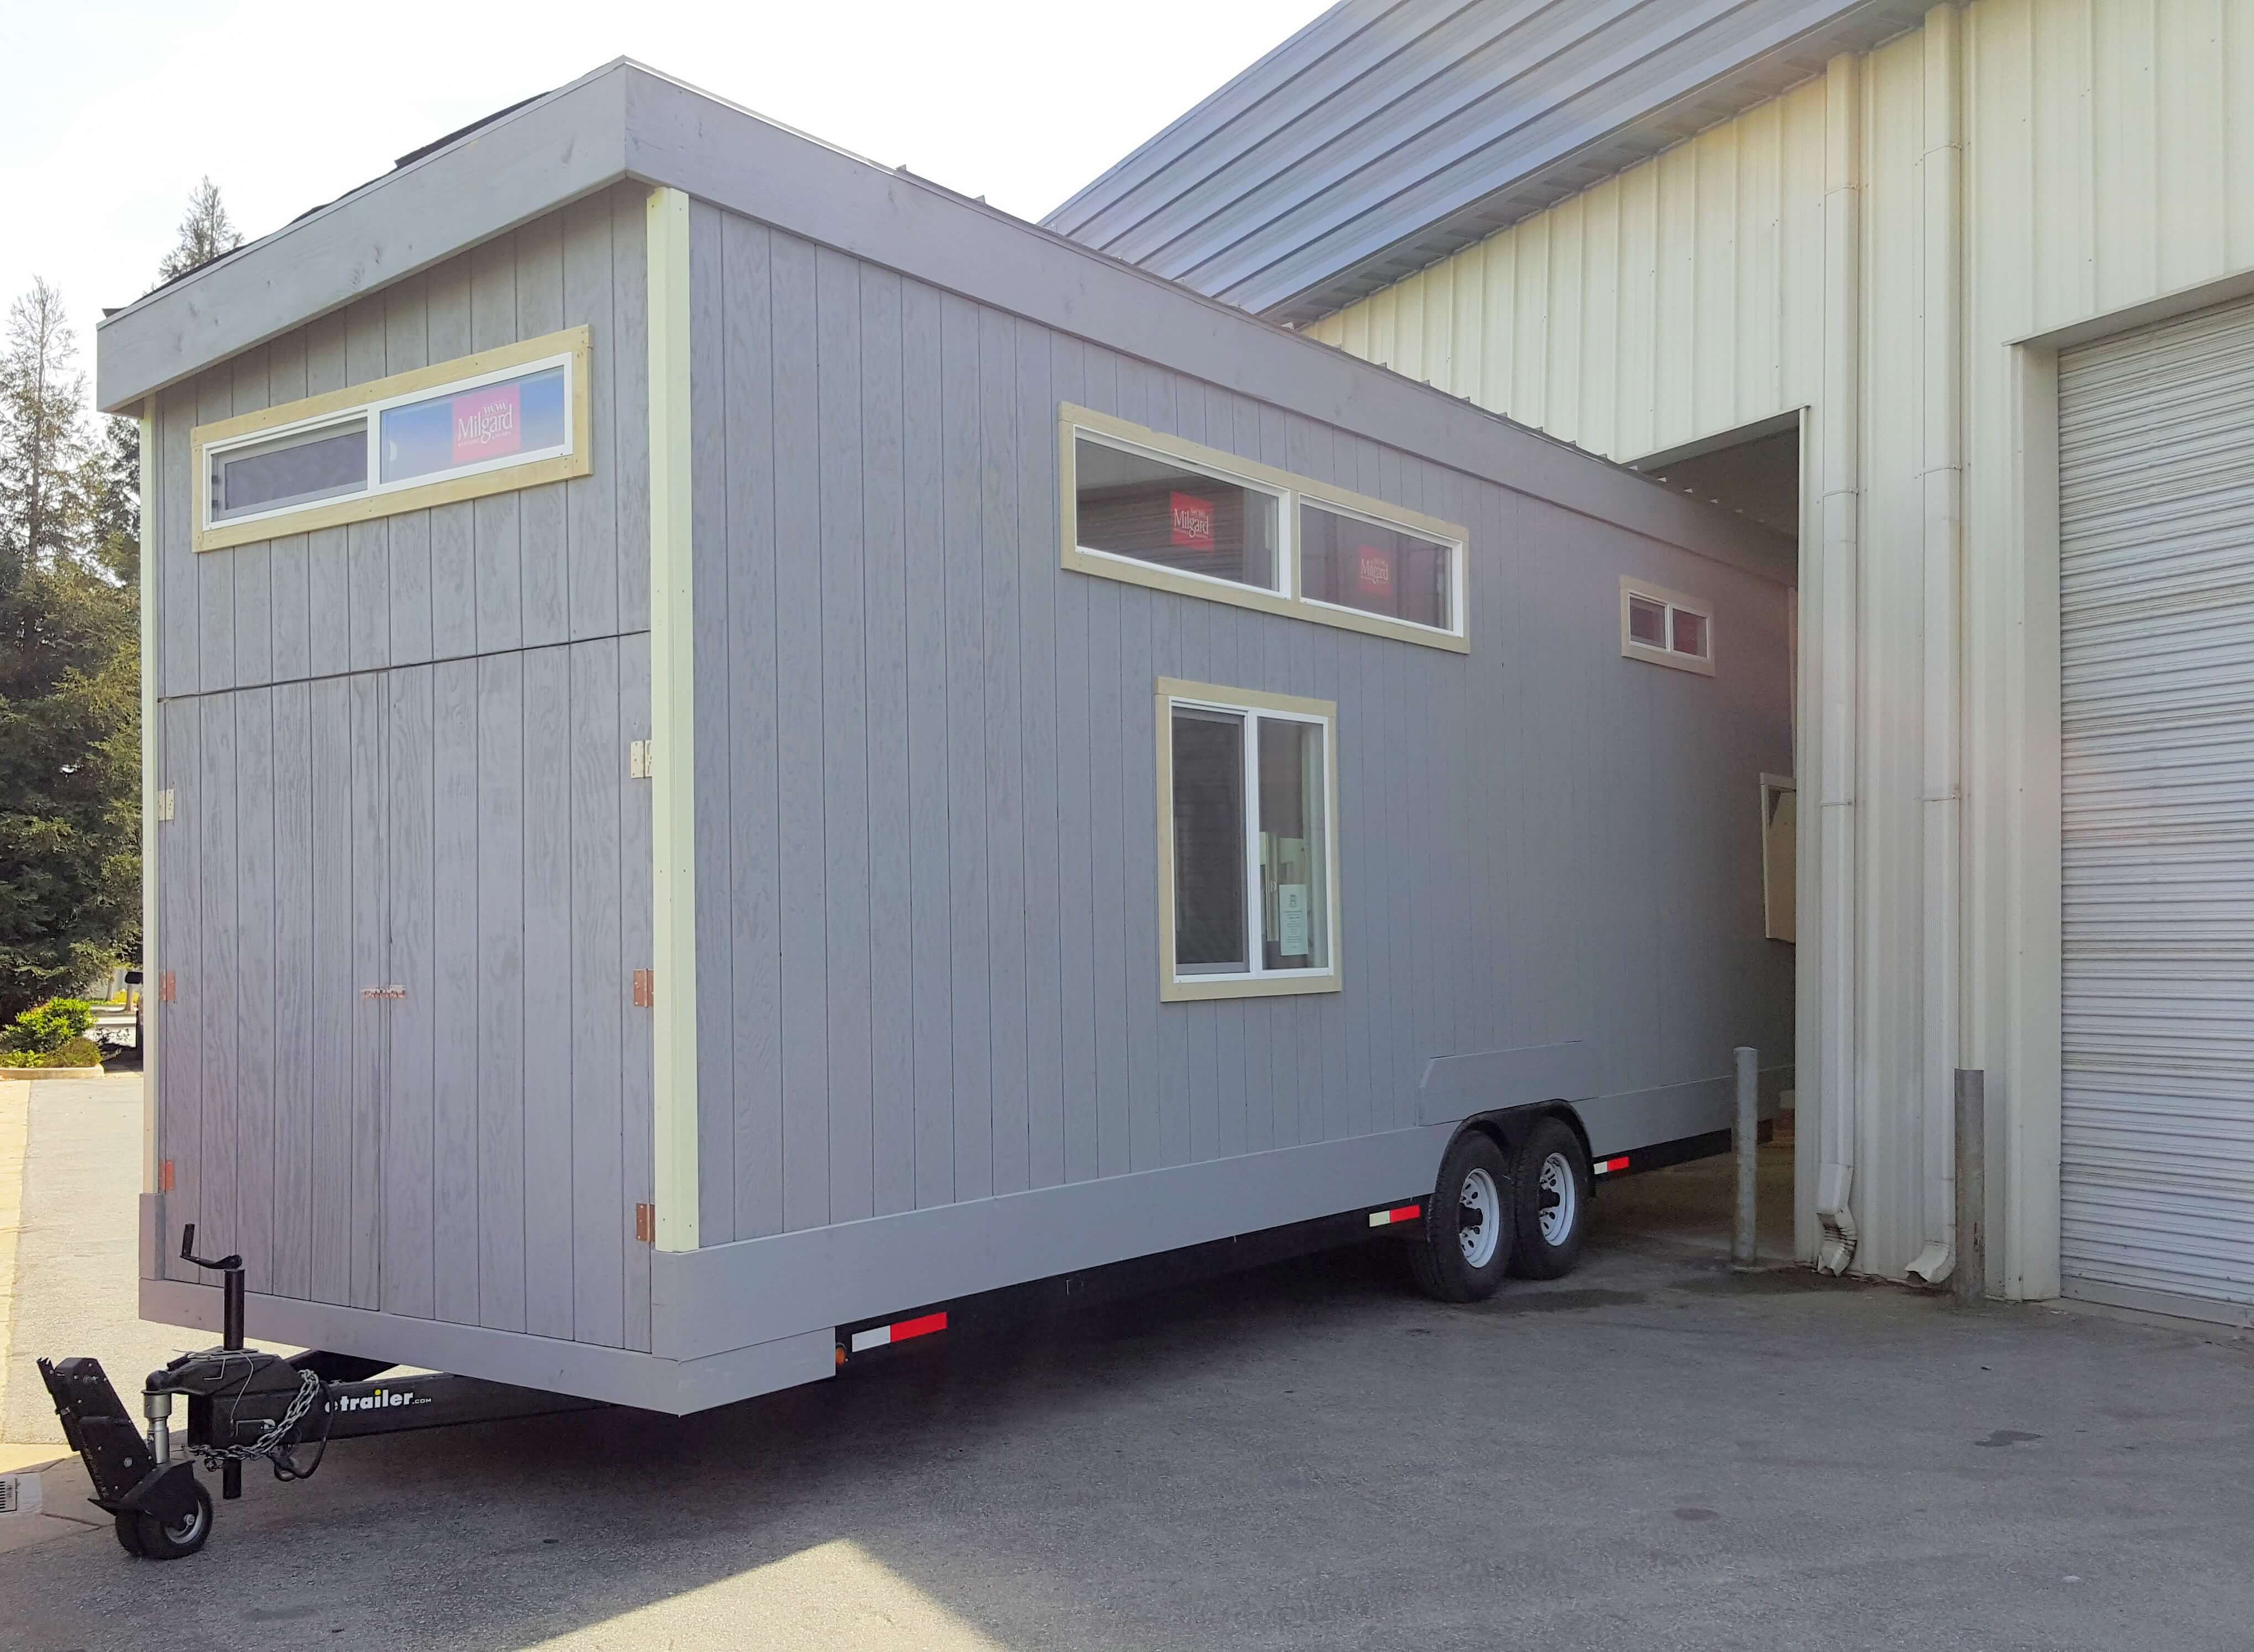
After you purchase your Ultimate Tiny House Traileror Tiny House Shell from Tiny House Basics and you find a new place to park. One of the first steps you need to do is orientate your tiny house in the ideal direction. When we first moved our tiny house to our new home, we knew we wanted to face south but the limiting factor was really the access for our tow vehicle and how it could position us in that ideal direction. Although we did get it to face mostly south we wish we had the following tool at that time to fine-tune the position. This new tool is the Trailer Valet XL. This tool has greatly helped in the task of positioning any tiny house or any trailer (under 10,000 lbs.) in and out of tight spots or changing its orientation without the need for a truck. We recently added this valuable tool to our tool belt when we had the need for moving our custom-built tiny house shells in and out of our builder’s workshop. The tight space and corners would have been impossible to navigate with a truck pulling one of our tiny houses so we are so happy to have been able to find such a useful tool as the Trailer Valet XL. You can operate the Valet with a supplied hand crank or the included drill adapter to use with your own personal drill for a powered dolly! For more info please visit their website.
Watch This Video Of Us Moving A Tiny House Shell
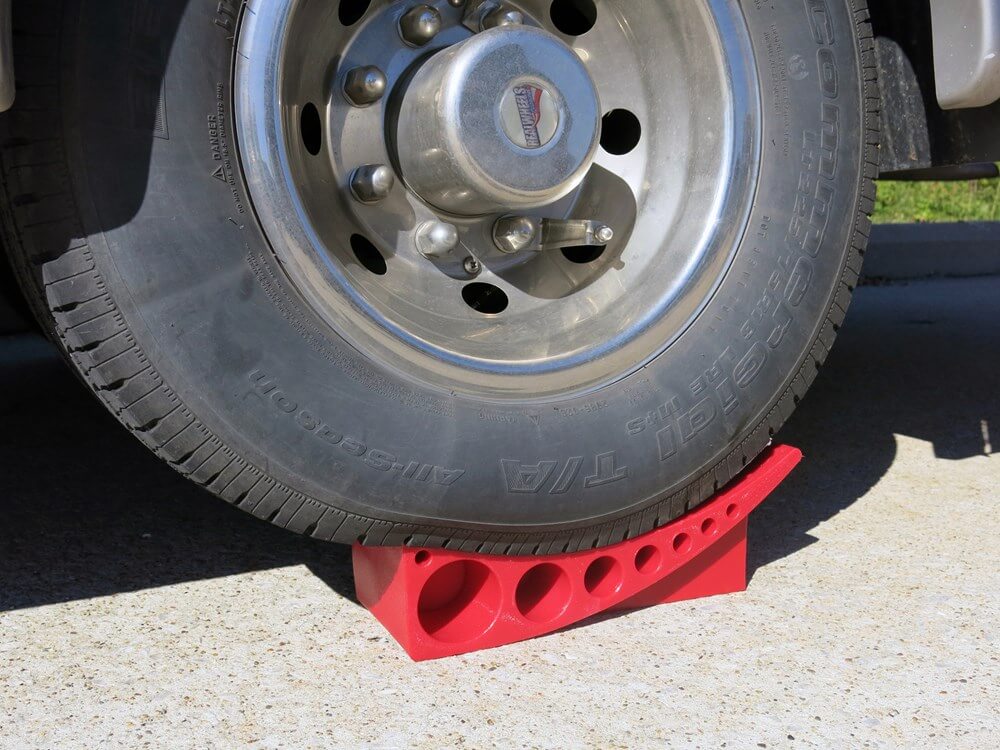
Once you have your tiny house positioned just right. The next piece of gear you will need is leveling jacks. I have found the best way to level your tiny house or RV is by using high-quality scissor jacks like these that can be found at Etrailer.com. Some trailer manufacturers will have these welded on for you but it is ideal to bolt them on yourself so they are easy to replace in the event that one fails. I am a welder of over 12 years and I still bolted my scissor jacks on instead of welding them and I was glad I did because during the construction of our tiny house it slipped off the supports and bent a few jacks. No problem for us, I easily swapped out the broken jacks and bolted up a new one using Stainless Steel hardware. There are many types of jacks available but the Scissor jacks are best suited for this application because of the focused downward force they provide. Steer away from the type of jacks that will swivel down and lock because there is too much play in the locking mechanism and it will not give your tiny house the stable support it needs. When setting up the scissor jacks at your new parking spot it is best to not fully extend them out because that can make them unstable. In order to give them a good footing and large surface area for support, i recommend using a concrete pier under each jack (pictured on the following page). The concrete deck piers cost less than $4 each at your local hardware store and they provide a sturdy footprint for your jack to rest on. The next piece of gear you’ll need to easily level your tiny house from side to side is the Anderson Camper Wheel Chock And Leveler. This tool is very easy to use and can support any trailer up to 30,000 lbs. When you pull into your new parking spot take out a level and lay it right between the wheel wells to check how level it is side to side. If there is a difference between sides, placed the AndersonLeveler Chocks on each of the axles on the low side of the tiny house and slowly drive up on the levelers until the tiny house is level side to side, slide in the chock wedge to lock the wheel at that height, then once it is just right you are ready to continue your setup.
With the tiny house level from side to side, you are ready to balance out the rest of the house. With the Tiny House Level Side to side, you are ready to balance out the rest of the house. Most Tiny Houses seem to only have a Scissor jack on each corner, which may be fine for most smaller tiny houses, but since our tiny house is 28 ft. long we felt it was necessary to have more than four scissor jacks to stabilize the structure so we installed eight scissor jacks and four corner jacks. We wanted to eliminate the “trailer shake” that is common in RVs and travel trailers so that is why we choose so many stabilizers
to secure our tiny house. With all your jacks installed, place the piers under each jack and lower the jack onto the piers until they are nice and snug. You can use a hand crank that is
included in the linked kit, but the fastest way is a corded impact wrench or the battery-powered Milwaukee Impact wrench pictured
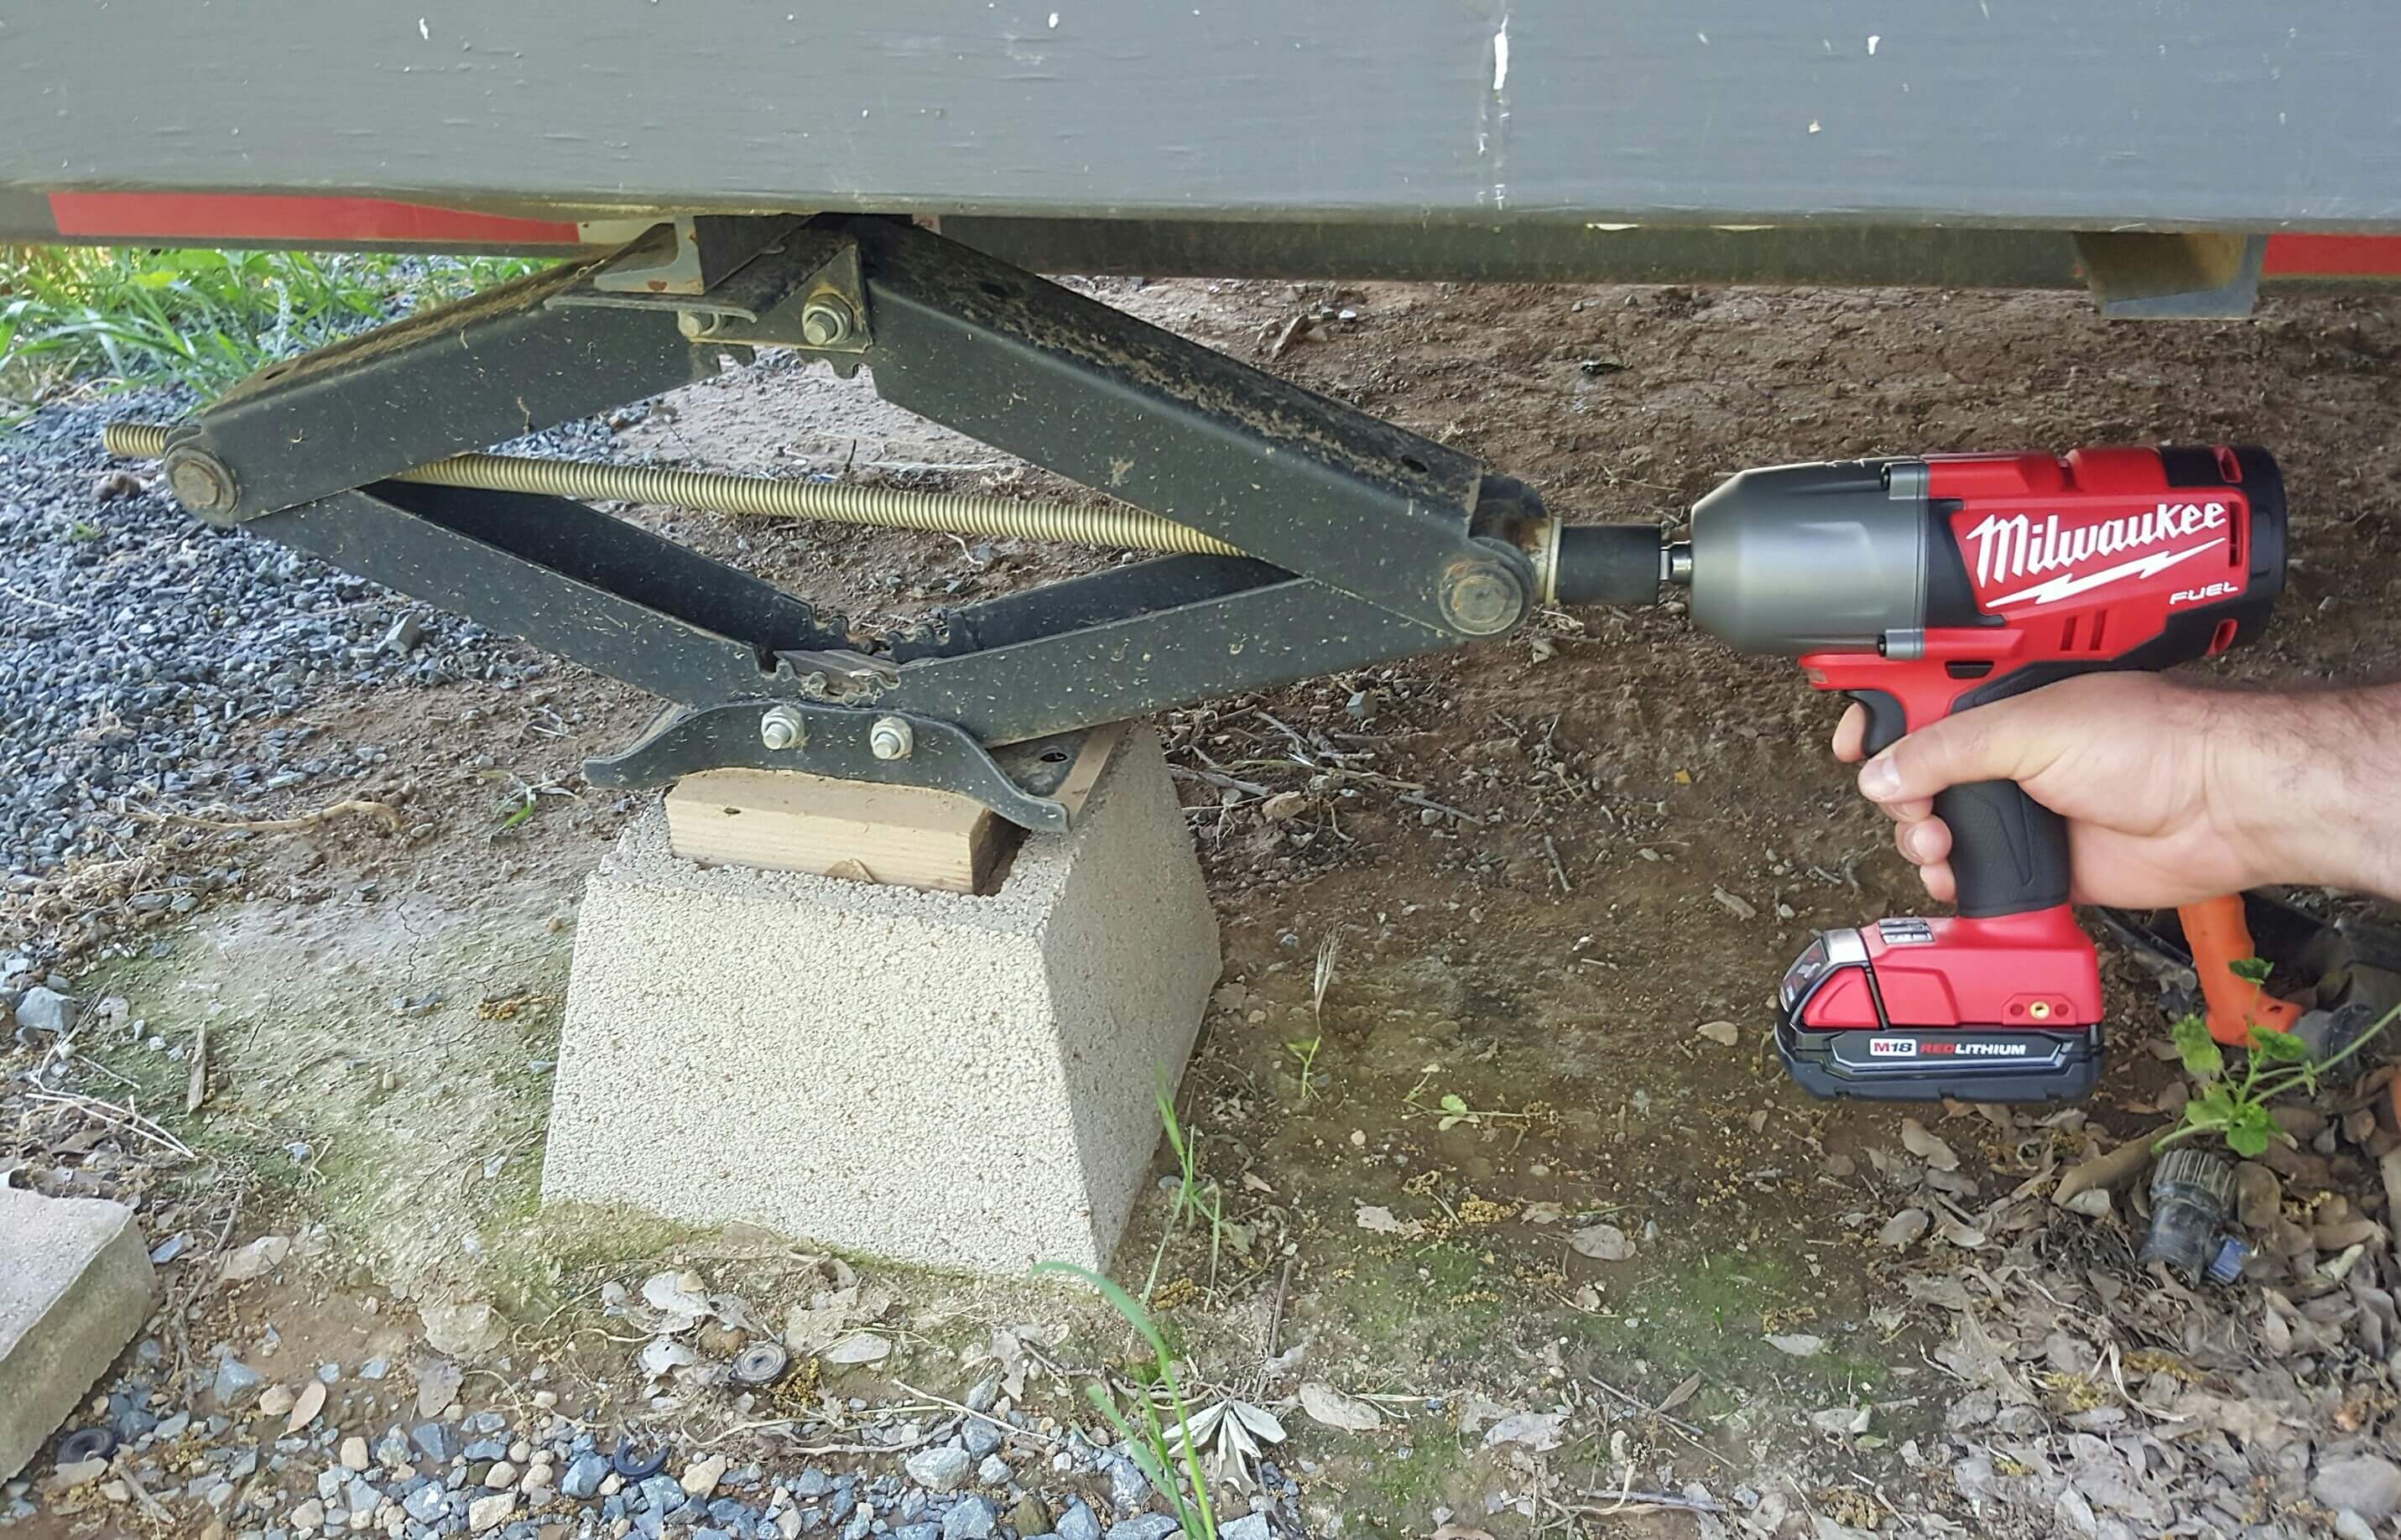
Once all the jacks are snug on the piers you are ready to fine-tune the leveling of your tiny house. (Keep in mind, the scissor jacks are intended to Stabilize, Not Lift) With our tiny house being 28 ft. long I checked for level in three locations: the center between the wheel wells, the kitchen, and the bathroom. For each spot I checked, I did so in both directions, side to side of the trailer and front to back. Once I placed the level down in each
the location I adjusted the jacks on the outside in their respective locations.
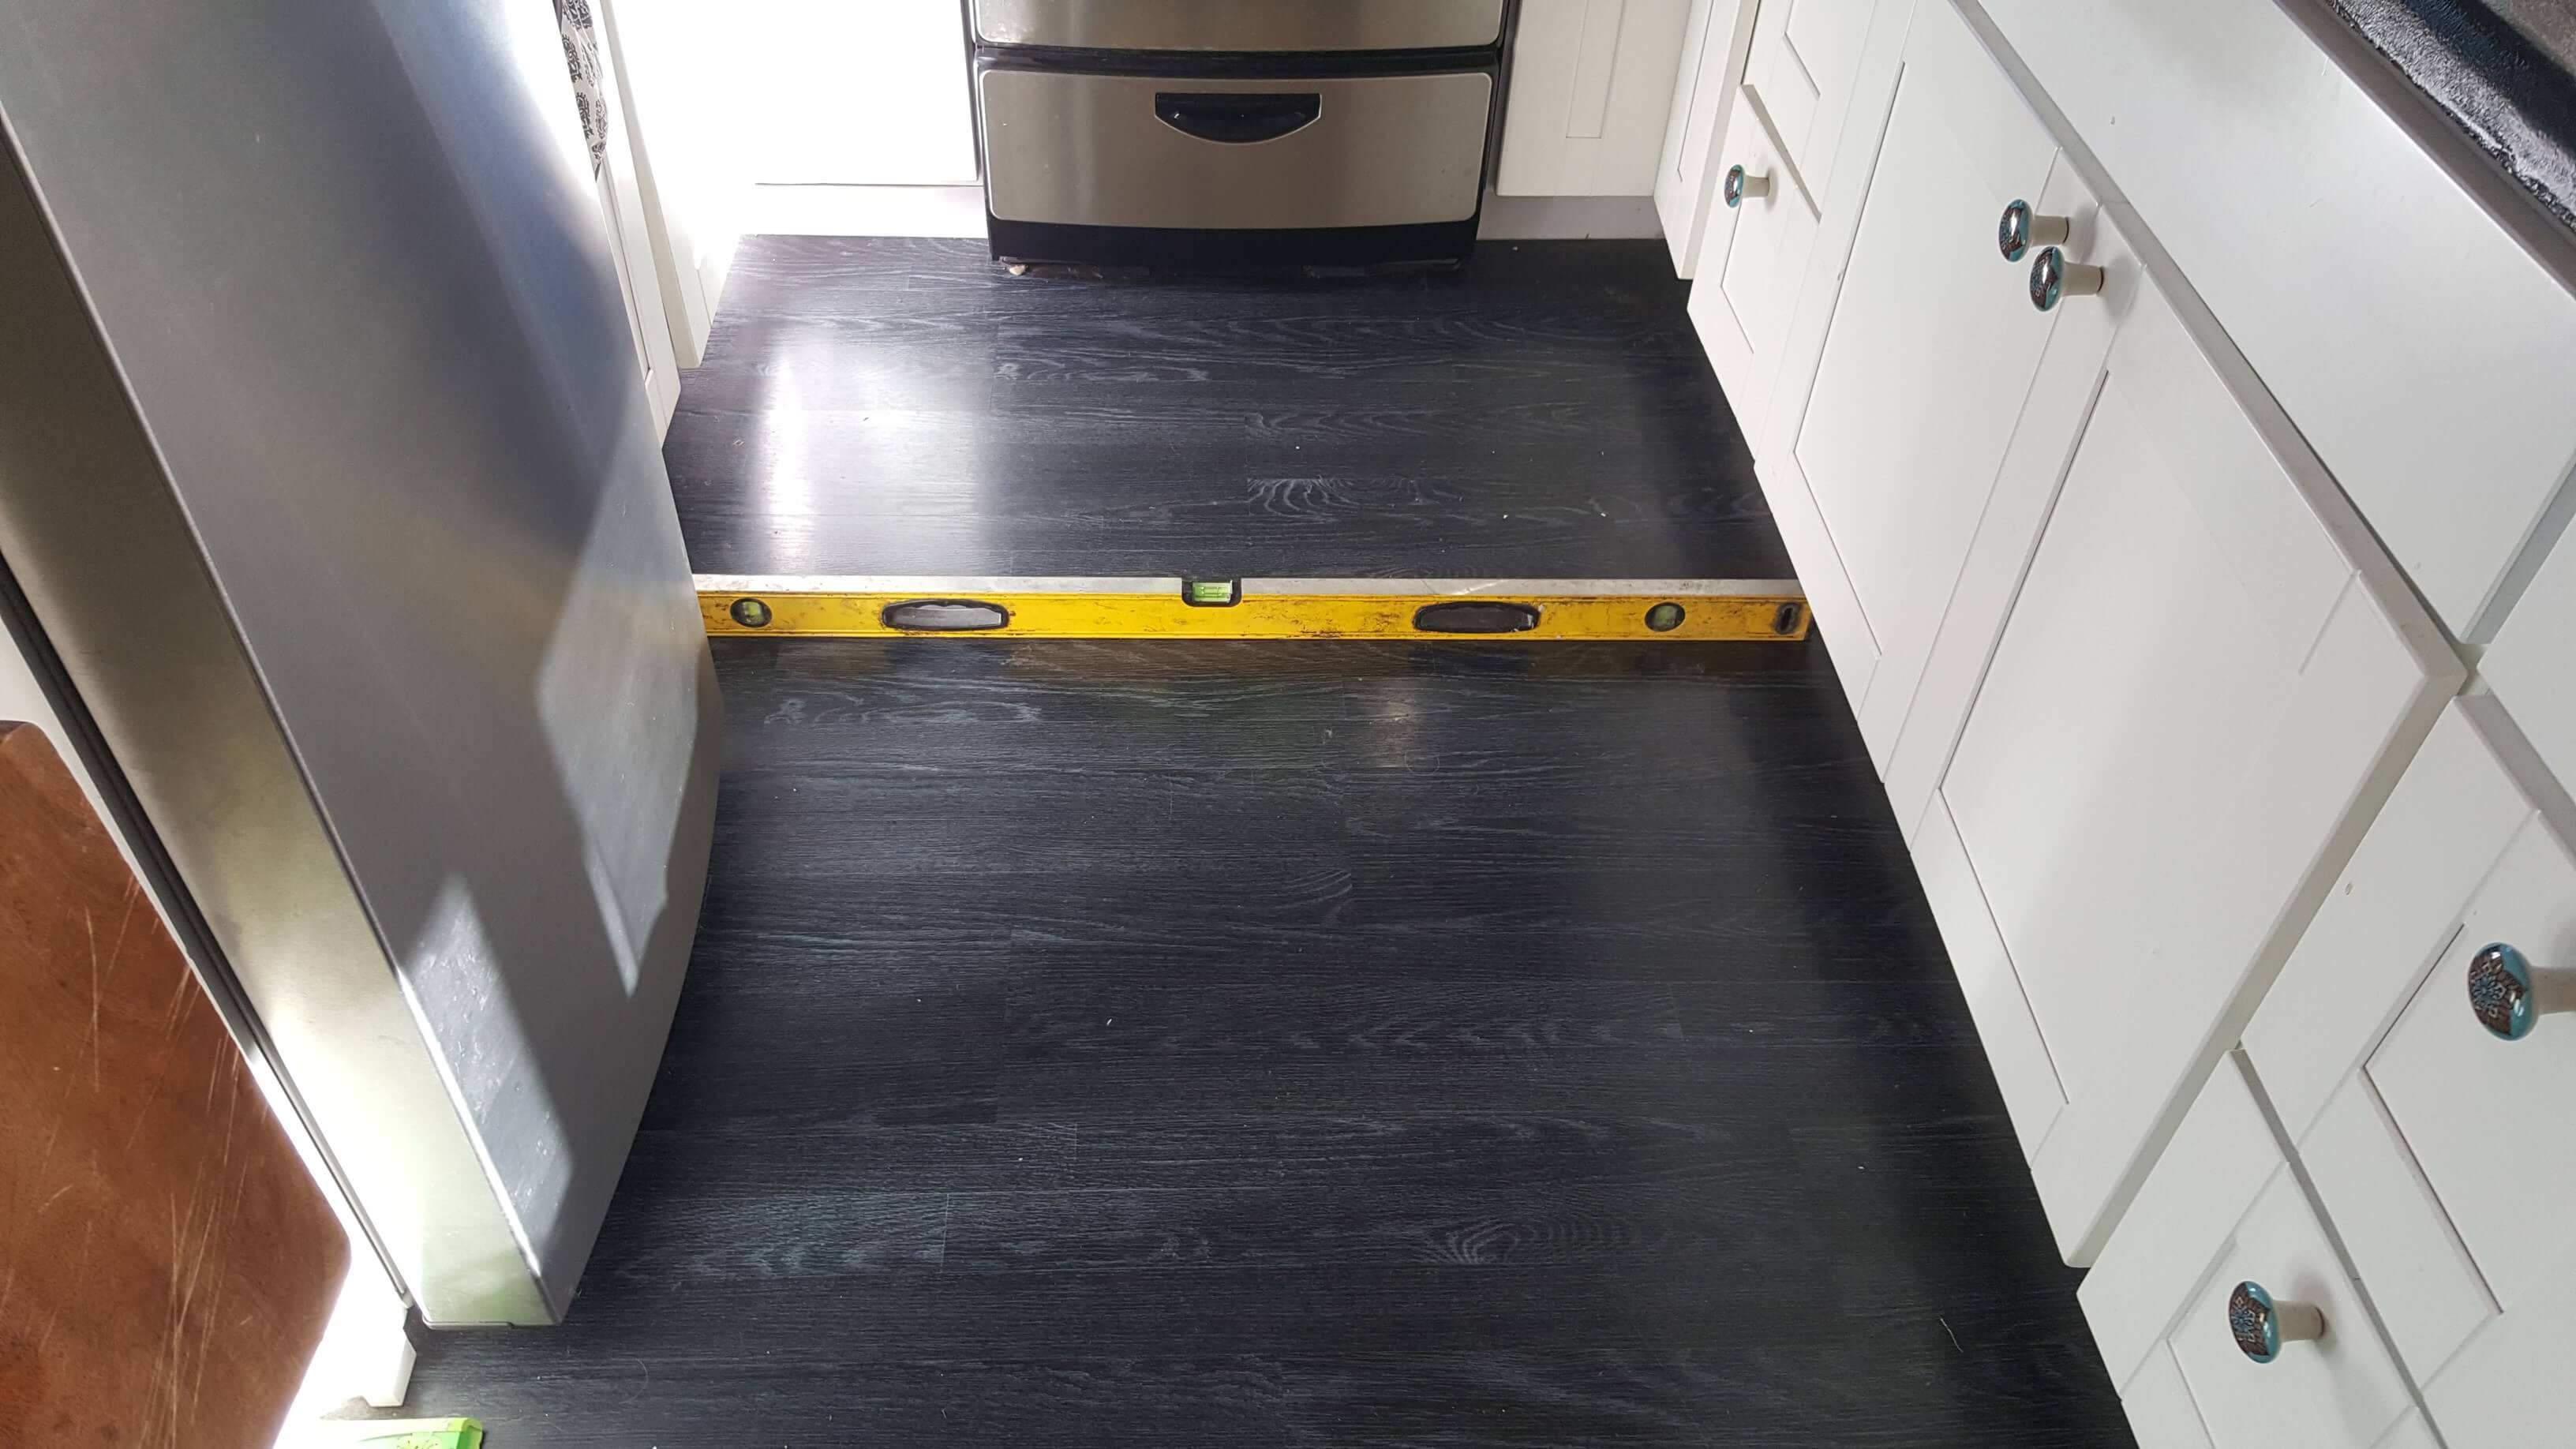
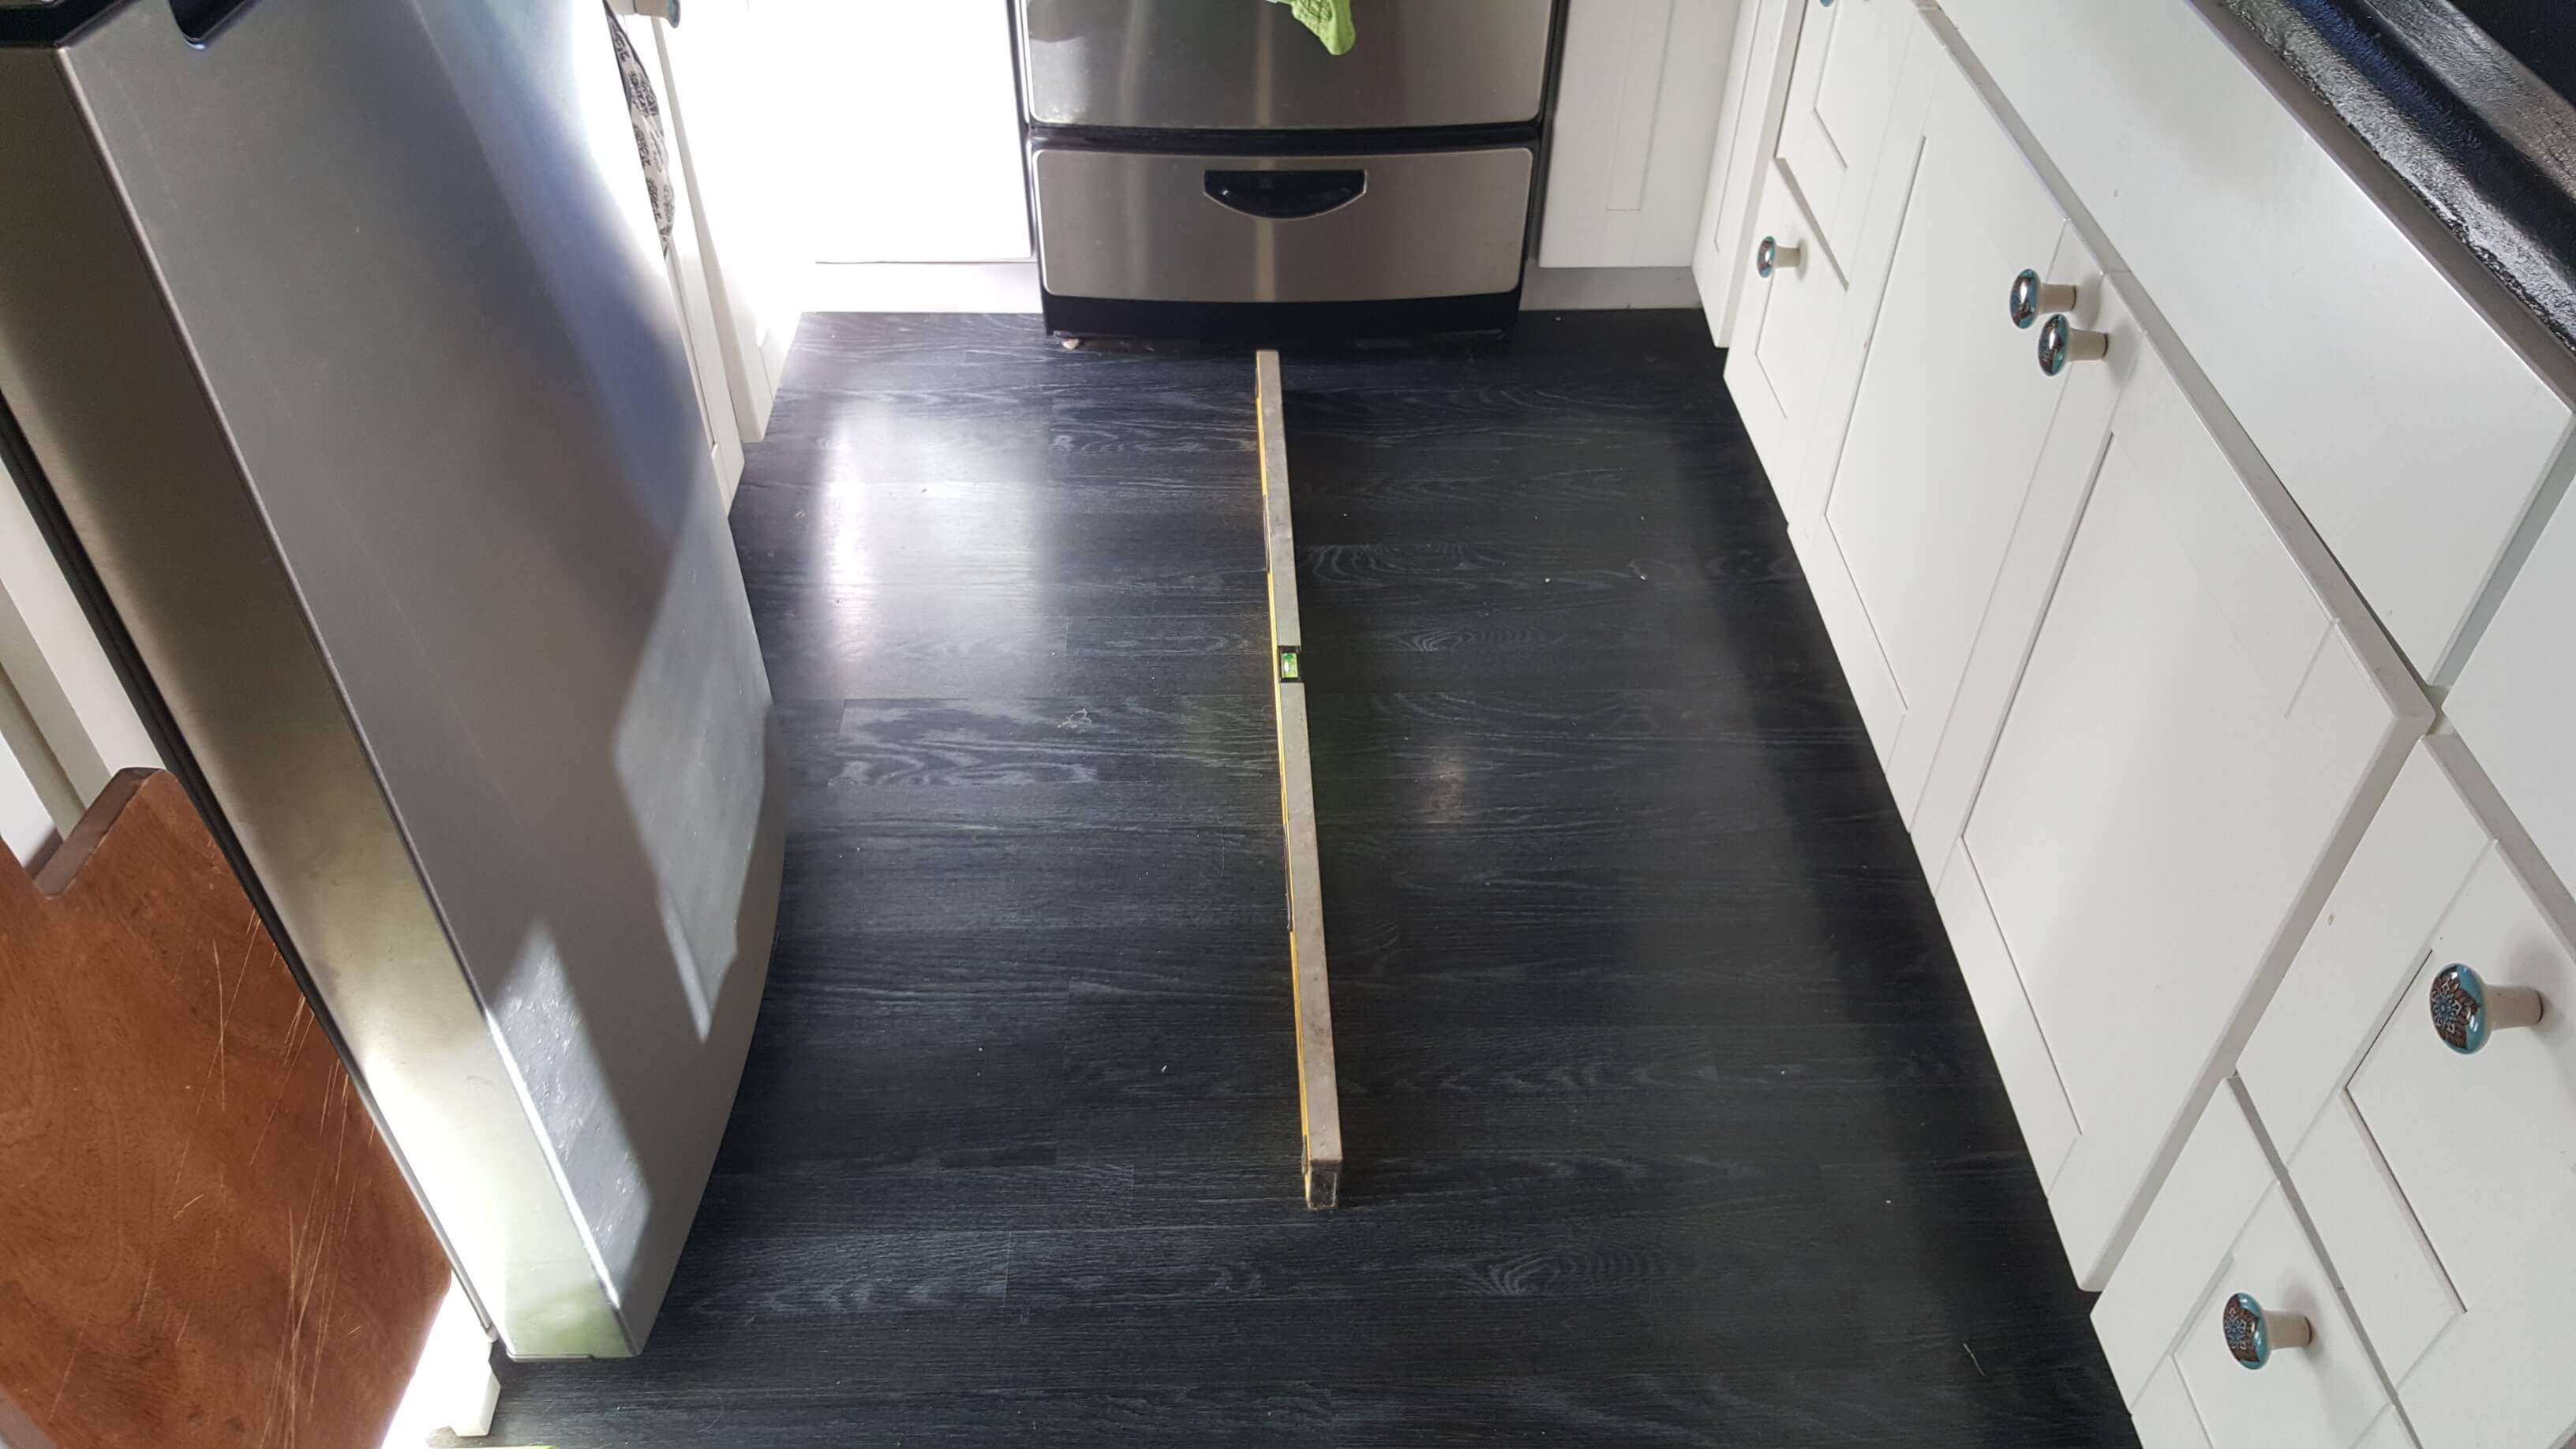
The whole process takes about a hour and with all the jacks we installed, it eliminated the dreaded trailer shake and gave our tiny house a very sturdy and level foundation!
Please check out the following link for more info on us and our tiny house trailers and tiny house shells
