
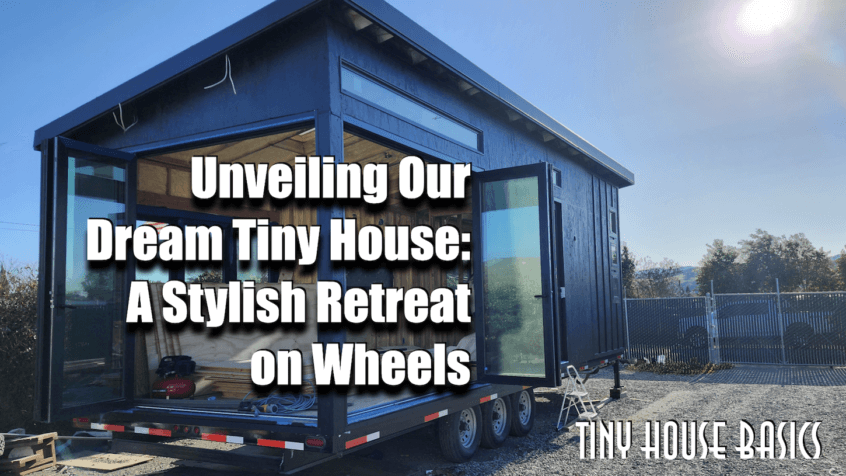
In this exciting video, I want to give you an update on our brand-new tiny house build, version 2.0! Join me as we prepare to ship and bring our personal tiny house to our property in Sonoma County. I’ll take you on a tour, giving you a glimpse of what it looks like in its current state.
Our tiny house is built on a 30-foot-long by 10-foot-wide deck over trailer, starting with the reliable Tiny House Basics trailer. One of the standout features is our impressive wall of glass, which floods the interior with natural light. The entire house is designed to be a single-level living area, with the bedroom planned for a future phase. To create a smooth and elegant finish, we spent considerable time and effort on the walls. Using half-inch plywood, we meticulously sanded and treated them with a cold mud technique. The result is a beautiful plaster-like texture that we’re extremely proud of.
As you enter the house, you’ll be greeted by an eight-foot-tall entry door, perfectly complementing the accordion doors in the rear and an eight-foot-wide accordion window. Let’s explore the different areas of the tiny house. This space by the accordion doors will serve as the living area, while the adjacent section will house our well-equipped kitchen. We’re thrilled about the pot filler, vent hood, and a new Blue Star range, which we’ve had even before completing the tiny house.
We’ve sketched out a rough plan for the kitchen, and we’re particularly excited about the potential for a big TV installation, creating an entertainment hub for the entire space. When it comes to lighting and convenience, we’ve made some smart choices. We’ve installed a conduit run to hide electrical cables for our entertainment system, ensuring a clean and organized setup. Our preference for Lutron Casita smart switches extends throughout the tiny house, offering us a seamless and efficient way to control the lighting.
To keep us cozy and warm, we’ve incorporated WARM-UP floor heating circuits into the design. These will ensure comfort during colder months. In addition, we’ve opted for Velux automatic solar-powered skylights. With their opening and closing features, we have complete control over ventilation and can adjust the heat as needed. They provide a beautiful and natural atmosphere inside.
Now, let’s step into the bathroom. We’ve partnered with Kohler for all our fixtures, including shower heads, faucets, and a stylish vanity from Vintage Tub and Bath. Our Mitsubishi mini split, consisting of a 12,000 BTU unit and a 9,000 BTU unit, will keep the bathroom and main room pleasantly cool. We’ve also chosen a smart Kohler toilet with bidet functionality, ensuring maximum comfort and convenience. The bathroom will be illuminated by a Kohler mirror and a Kohler light fixture. Moving to the exterior, we’re thrilled to have three opening awnings that will provide shade and allow us to enjoy the outdoors even on sunny days.
As for the flooring, we’re considering a tile option, but one thing is for sure – the entire house will feature Warmup heated floors. To control the floor heating system, we’ll have a convenient control panel located in the bathroom.
As we explore the great room, you’ll notice that we initially planned for a wall that would have served as a closet. However, we’re considering an alternative approach. After we complete the ceiling, which will be done in beautiful Cedar, and finish the flooring, we may create a false wall or install wardrobes to divide the space. This way, when we move on to phase two of the bedroom unit, we can easily remove this wall without compromising the overall aesthetic. At this point, our tiny house is ready to be shipped. We’ll ensure its safety during transit by covering it with a tarp.