

What are Crossmembers?
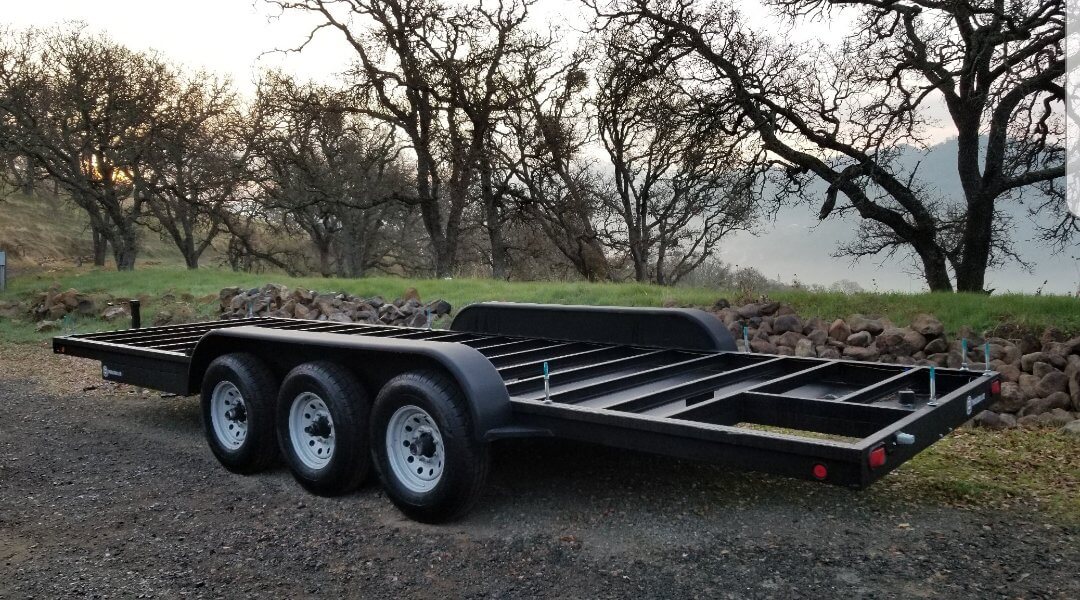
Crossmembers are the structural ribs that run side to side or perpendicular to the length of the trailer. These framing members provide structural rigidity for the trailer frame and are mounted inside the main frame rails (the main frame rails run the overall length of the trailer, the are the ones right inside of the fenders which the axles and the suspension are directly mounted to, they also Connect to the tongue which is what connect to the tow vehicle.)
What roll do crossmembers play in the subfloor of my tiny house?
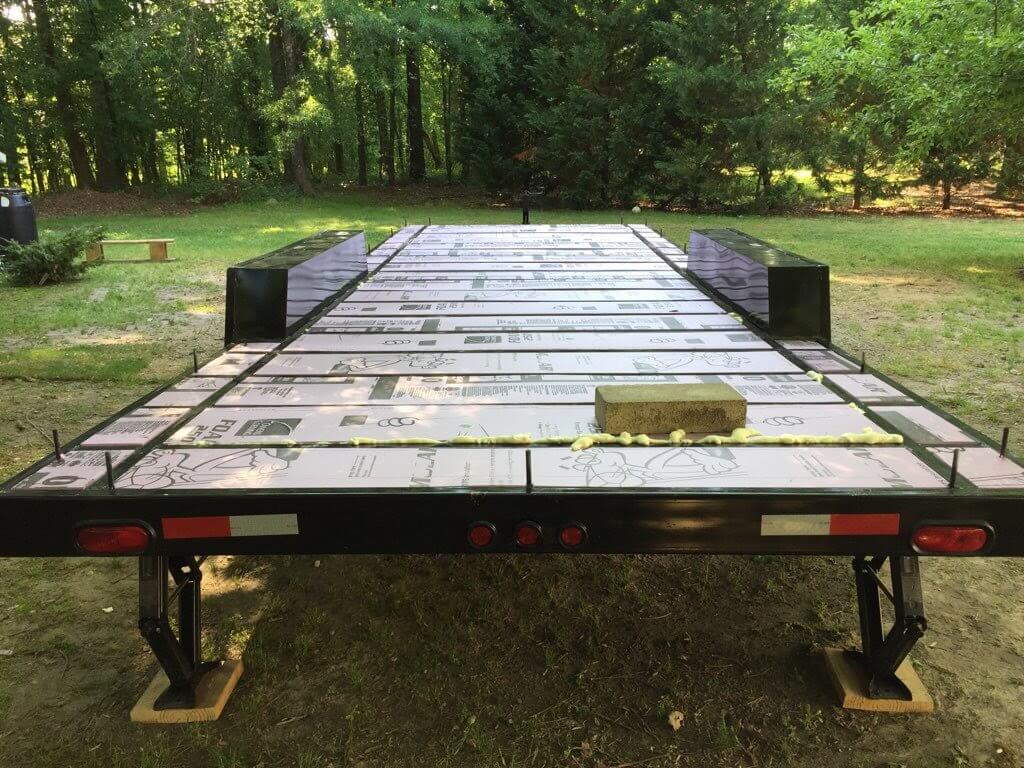
They can have two functions, 1) they can provide the support for the wooden subfloor if you have them in their default position of 3″ below the top of the frame. 2) they can be the subfloor when you order them flush with the top of the trailer frame ($150 option) when you order then flush with the top of the trailer, you can use your trailer as the subfloor and therefore save: Time, Money, Materials and Weight. You can then install your insulation directly into the trailer frame like pictured above and then lay your tongue and groove plywood subfloor directly onto the trailer deck.
How do you install the plywood directly to the trailer when using flush crossmembers?
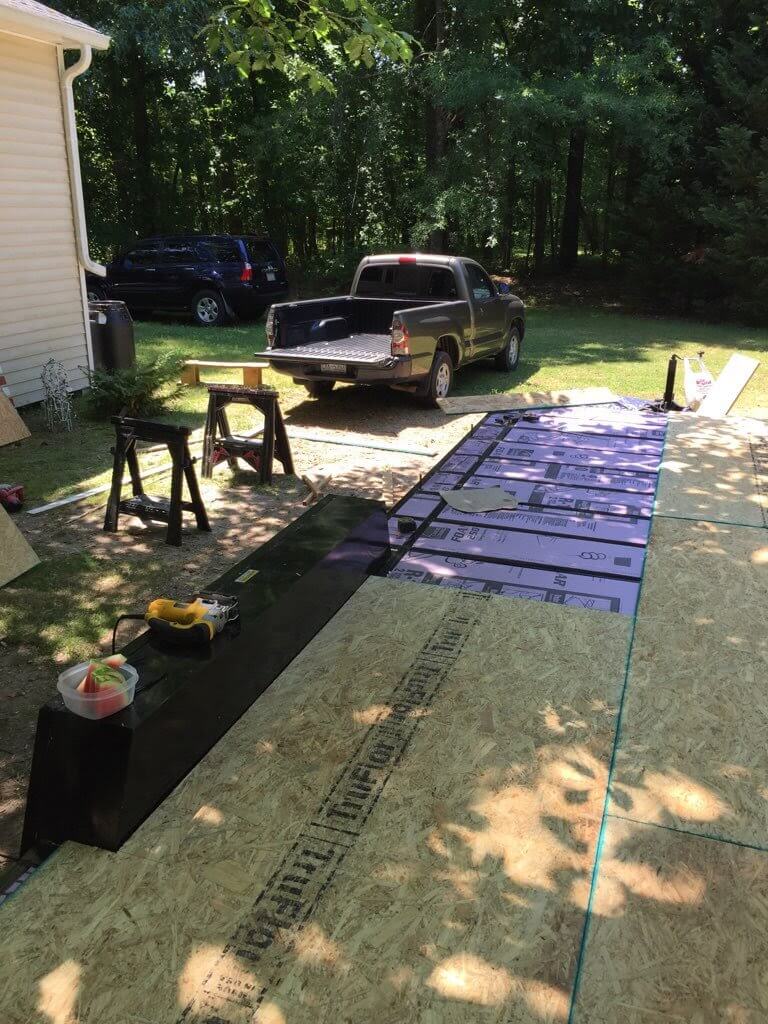
First you want to make sure you are installing the plywood length wise with the trailer, so the long side will be front to back and the short side of the plywood is across the width of the trailer. This will allow each sheet of plywood to span across the most crossmembers. You will also want to use tongue and groove style plywood so you each sheet will interlock and add strength in the space between subfloor support (i.e. crossmembers) to secure the wooden subfloor to the trailer deck you should use a heavy duty construction adhesive to secure each sheet to the trailer and follow that with predrilling for each screw you will use to fasten the sheet to the trailer deck. The ideal screw to use would be a wood to metal screw similar to these found at home Depot secure each sheet with a screw every 6″ around the perimeter of each sheet and 12″ in the field of each sheet (the area inside the sheet that goes over the crossmembers)
Tip: Mark the side of the trailer with painters tape to note where each crossmember is, this will prove very handy during the whole build.
Anything to consider before I start my subfloor?
A couple of steps to consider: 1) how will you seal off the bottom of the trailer to hold the insulation inside the subfloor? One option is to install the flashing yourself, visit this link to see how we installed the flashing ourselves the second option is to order installed at the factory when we build your tiny house trailer (availability may vary across our locations). When the flashing is installed you can just drop the insulation inside the frame and continue on with your build. The flashing closes off the bottom but is not intended to be water tight, the reason is so in case water does leaks into your subfloor there is a way for it to exit. The main purpose of the flashing is to hold the insulation and to prevent rodents and other creatures from getting into the subfloor. Some climates like Hawaii dont even need any subfloor insulation so no need to do this step.
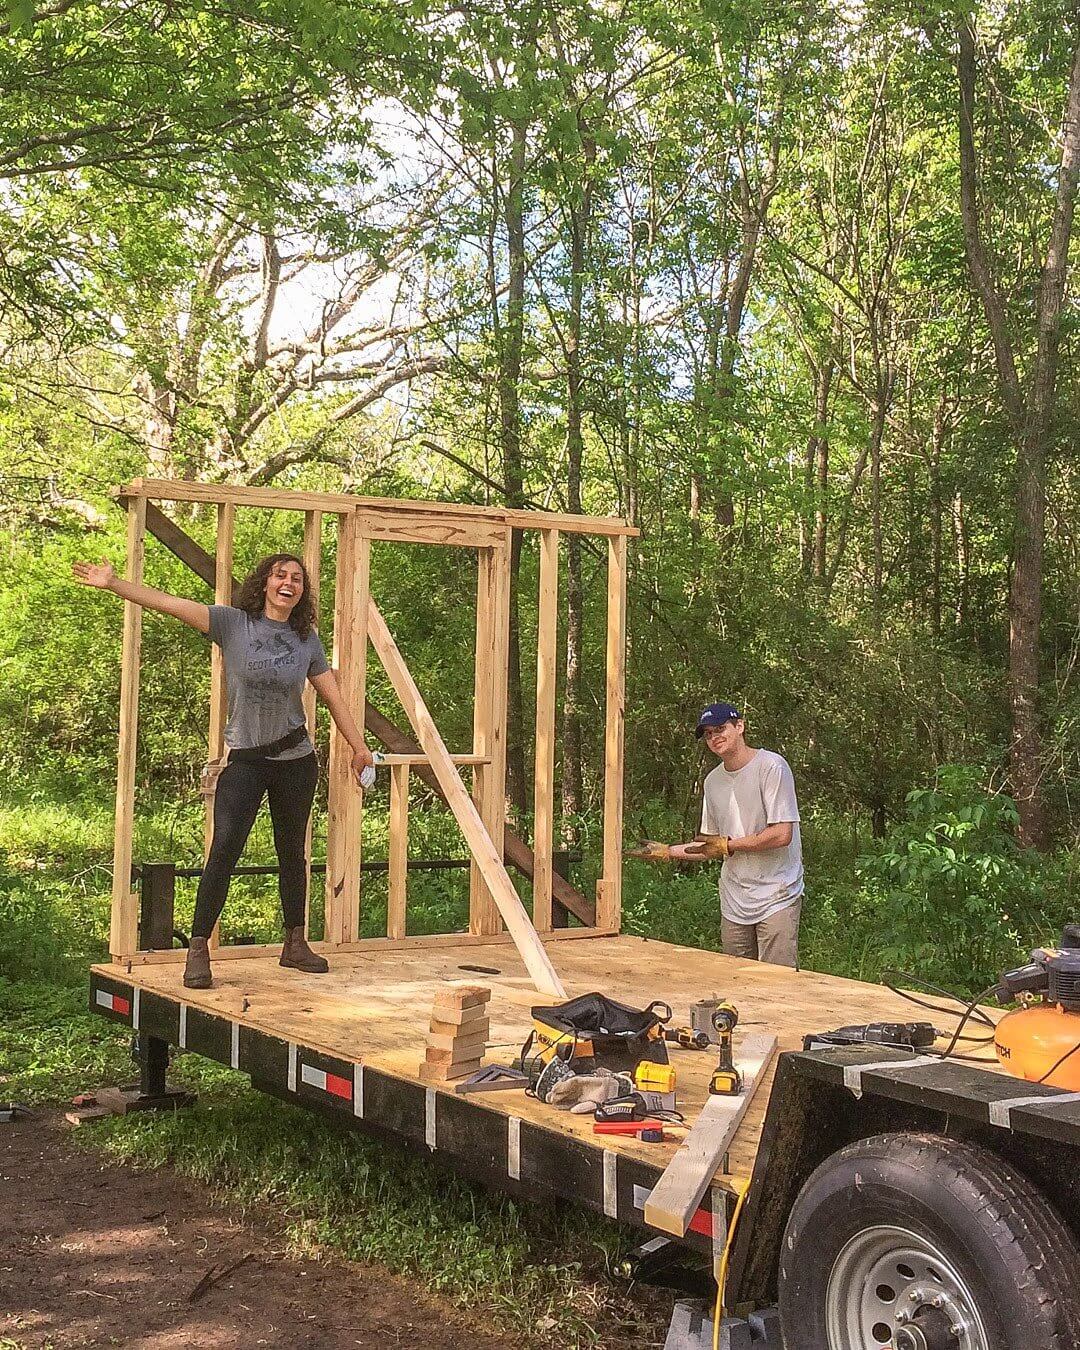
2) How will you secure the wall framing to the trailer? This is a step to address before you insulated the subfloor, the ideal way to secure the wall framing of your tiny house to the trailer is to use threaded rods and Simpson htt4 / htt5 strong ties to secure the wall framing to the trailer deck
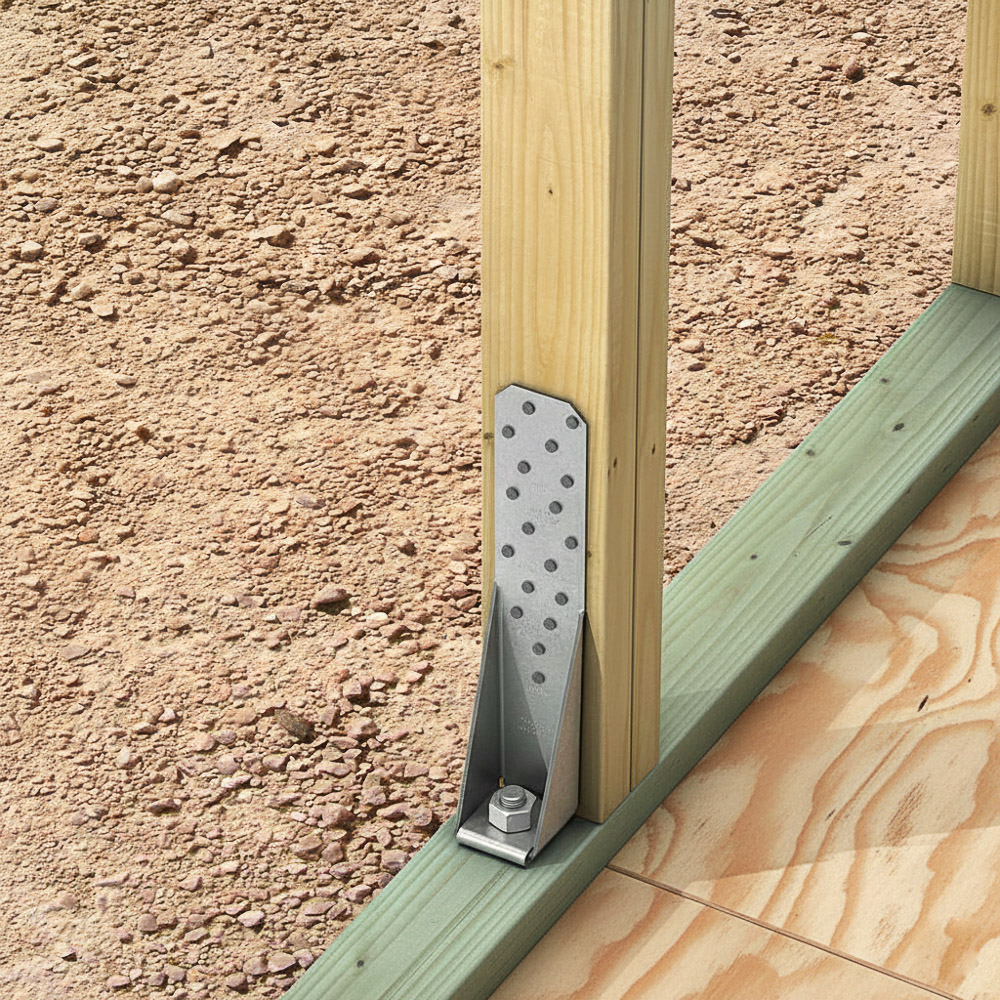
To provide a way to secure these strong ties to your trailer, you will need to install a threaded rod onto your trailer frame by using one of two ways: 1) Weld these 1/2″ or 5/8″ threaded rods (can be found at home Depot in 72″ lengths and cut to size, about 8″ is more that adaquate for each) the location at which to weld then is 10″ from each corner, 10″ before and after the fenders and at the location of each king stud in your design.
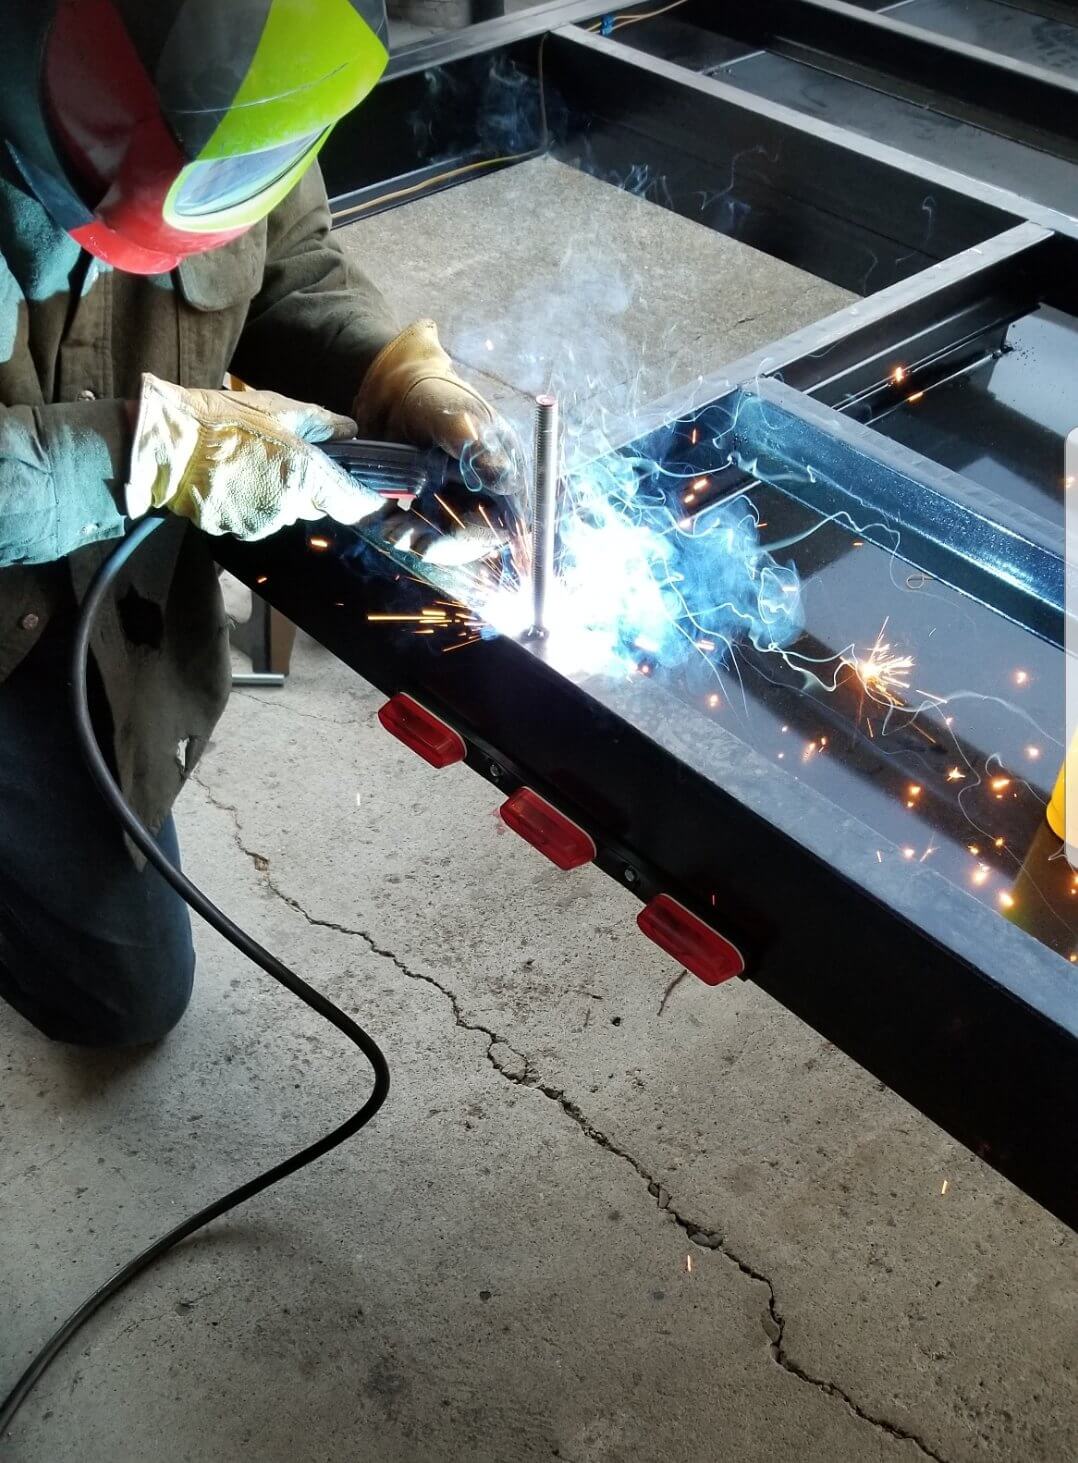
If you don’t want to weld or don’t have access to a welder to handle the job, you can drill through the outter frame rails at the desired locations, secure the bottom of the threaded rod with lock washers and two nuts. Make sure to add a additional 9″ to each threaded rod if you will be bolting through a 6″ tall trailer frame.
We hope this helps you during your build. If you have any questions feel free to connect below!